Changing the Connection Mode
You can switch the connection mode or change the SSID and other settings on the printer.
Setup is required when connecting to the printer for the first time. Return to the application screen and set up the printer.
-
If the HOME button (A) on the printer is lit, touch the HOME button.
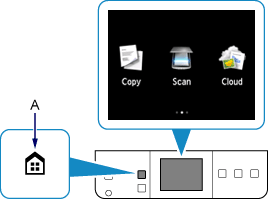
-
Flick the screen left or right, then tap the Setup.
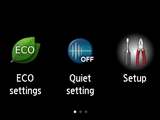
-
Flick the screen up or down, then tap Device settings.
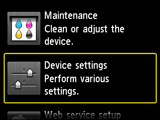
-
Tap LAN settings.
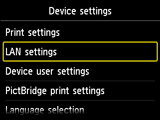
-
Tap Change LAN.
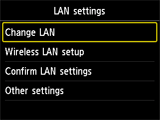
-
Tap the connection mode you want to use, then proceed with the setup.
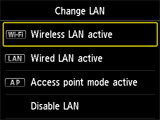
When Wireless LAN active is Set
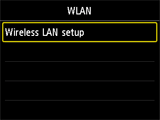
Touch the HOME button, then tap WLAN > Wireless LAN setup.
The printer will automatically search for compatible access points.
Select a wireless connection setup method in the Wireless LAN setup screen.
When the screen below appears, tap To other connection methods.
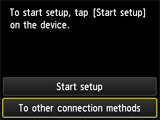
After connecting the printer to an access point, you need to connect your device (such as a smartphone) to the access point in the Wi-Fi settings screen on the device.
When Wired LAN active is Set
Connect the printer and a network device (router, etc.) with an Ethernet cable.
When Changing the Access Point Mode Settings
Touch the HOME button, then tap Setup > Device settings > LAN settings > Other settings > Access point mode settings. You can change the SSID and Password (network key) settings in the displayed screen.

